
The rise in smart home technologies has revolutionized how we protect and monitor our homes, providing us with a sense of safety and peace of mind, even when we’re miles away.
Among the plethora of home security solutions available, Ring Doorbell Cameras have become a popular choice for homeowners worldwide. These cutting-edge devices offer a doorbell and a high-definition camera, enabling you to see, hear, and speak to anyone at your doorstep right from your smartphone, tablet, or PC.
However, many homeowners are often stumped when setting up these smart devices. If you’re one of them, don’t worry! This comprehensive step-by-step guide is here to help you navigate the process of how to install Ring Doorbell Cameras in no time.
Pre-Installation: Things to Consider
Before starting the installation, it’s important to take note of some key factors. These will help make your setup seamless and ensure you maximize the benefits of your Ring Doorbell Camera.
Choosing the Right Ring Doorbell Model
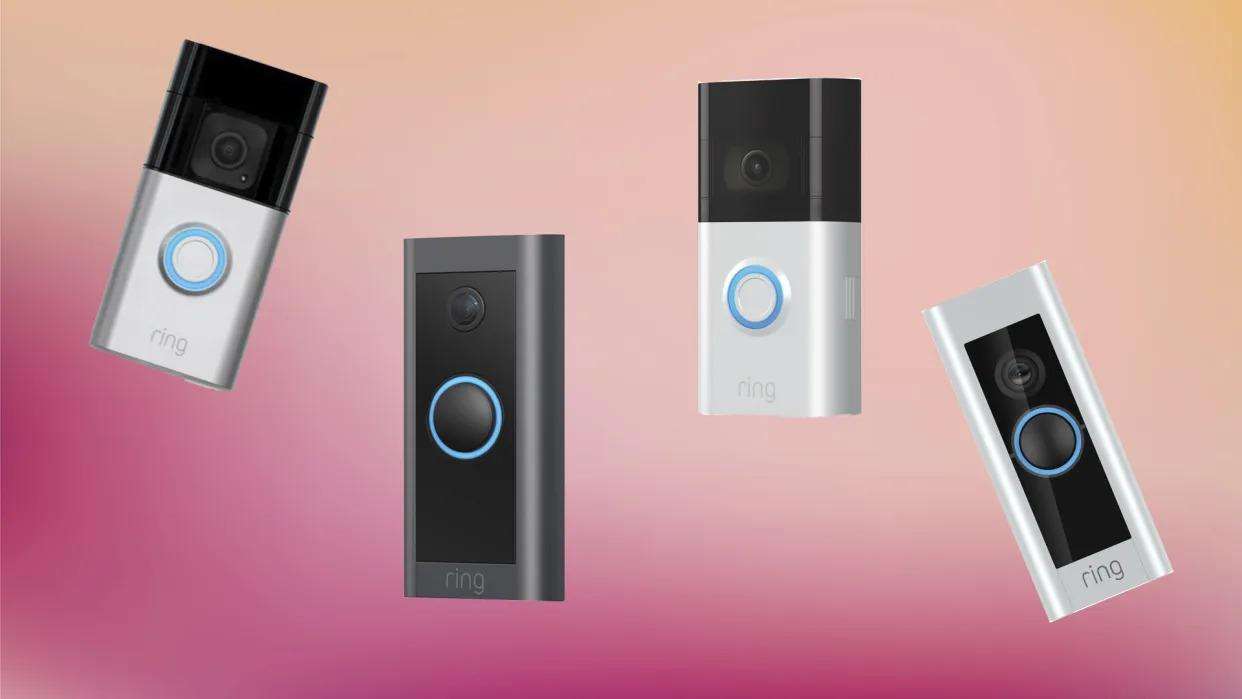
Image Source: Yahoo
Ring has a variety of doorbell camera models, each with their own set of features and benefits. The top cameras available are the Ring Video Doorbell, Ring Video Doorbell Pro, and Ring Video Doorbell Elite. The best fit for you will depend on your requirements and the setup of your home.
For instance, the Ring Video Doorbell is an excellent pick if you’re looking for a budget-friendly option that doesn’t compromise on essential features. On the other hand, the Ring Video Doorbell Pro offers advanced motion detection and customizable zones, making it ideal for larger homes or properties that require more comprehensive coverage.
Checking Your Wi-Fi Strength
A strong Wi-Fi connection is critical for your Ring Doorbell to function optimally. It ensures high-quality video streaming and quick notifications on your connected devices. You can use various free online tools like Speedtest by Ookla to check your Wi-Fi strength.
If your Wi-Fi signal is weak near your front door, consider using a Wi-Fi extender or moving your router closer to the installation site.
Gathering Necessary Tools
Installing a Ring Doorbell Camera typically requires some basic tools. Here’s a list of what you might need:
- Screwdriver
- Drill
- Level
- Tape measure
- Wire strippers (if hardwiring)
Gathering these tools beforehand will streamline your installation and save time. With everything in place, you can now proceed with the setup.
Setting Up the Ring App

Image Source: Ring
Before you mount your Ring Doorbell Camera, you’ll need the Ring app up and running on your smartphone or tablet. This app acts as your main hub for all Ring devices, enabling you to watch live streams, get notifications, and change settings.
Here’s a step-by-step guide on how to set up the Ring App:
Step 1: Download the App
The Ring app is available for free. For iPhone users, it’s in the Apple App Store, and Android users can fetch it from the Google Play Store.
Step 2: Create an Account
If you’re a new user, you’ll need to set up a Ring account. Open the app and tap on “Register.” Enter your details – name, email, and a password. After agreeing to the conditions, you’ll receive a confirmation email. Please open it and click the provided link to verify your account.
Step 3: Set Up Your Device
Once logged in, select “Add a New Device.” Opt for ‘Doorbells’ from the dropdown. You’ll then be asked to scan the QR code or the MAC ID barcode found either on your Ring doorbell or inside your package. This step synchronizes your Ring doorbell with the app.
Step 4: Follow the In-App Instructions
Once inside the Ring app, you’ll be walked through the remaining setup steps. This will involve naming your device (like “Front Door”), pinpointing your location, and linking to your Wi-Fi network.
And that’s it! Your Ring app is set and ready to let you see your camera feed directly from your device.
Step 5. Setting up the Battery (for battery-powered models)
If you have a battery-operated Ring Doorbell model, you must charge the battery before installation. Use the included cable to charge the battery, which can take 5-10 hours. Once fully charged, slide the battery into the bottom of your Ring Doorbell until it clicks securely into place.
How to Install Your Ring Doorbell (Wireless)
After setting up the Ring app, it’s time to dive into the actual setup of your Ring Doorbell Camera. This process is straightforward when connecting wirelessly and can be done relatively easily if you follow the steps below closely.
Step 1: Choosing the Ideal Installation Spot

Image Source: Ring
The location of your Ring Doorbell is critical for its effectiveness. You’ll want to choose a spot that offers a clear view of your entrance and any key areas of interest. This is important for capturing clear video and optimizing the Ring Doorbell’s motion detection capabilities.
When choosing the installation spot, consider the camera angle, sunlight exposure, and the doorbell’s motion detection range. The optimal height for installation is about 48 inches off the ground. This ensures the camera captures a good view of visitors’ faces and packages left on the doorstep.
Step 2: Positioning the Doorbell
The first step in mounting your Ring Doorbell involves marking your drilling points accurately. For this, you’ll need the provided level and mounting bracket. Place the mounting bracket against the wall at your chosen location and use the level tool to ensure it’s perfectly horizontal.
Once the bracket is level, mark the drilling points using a pencil or marker. Precise marking at this stage will ensure your Ring Doorbell is properly aligned and secure when mounted.
Step 3: Drill Holes
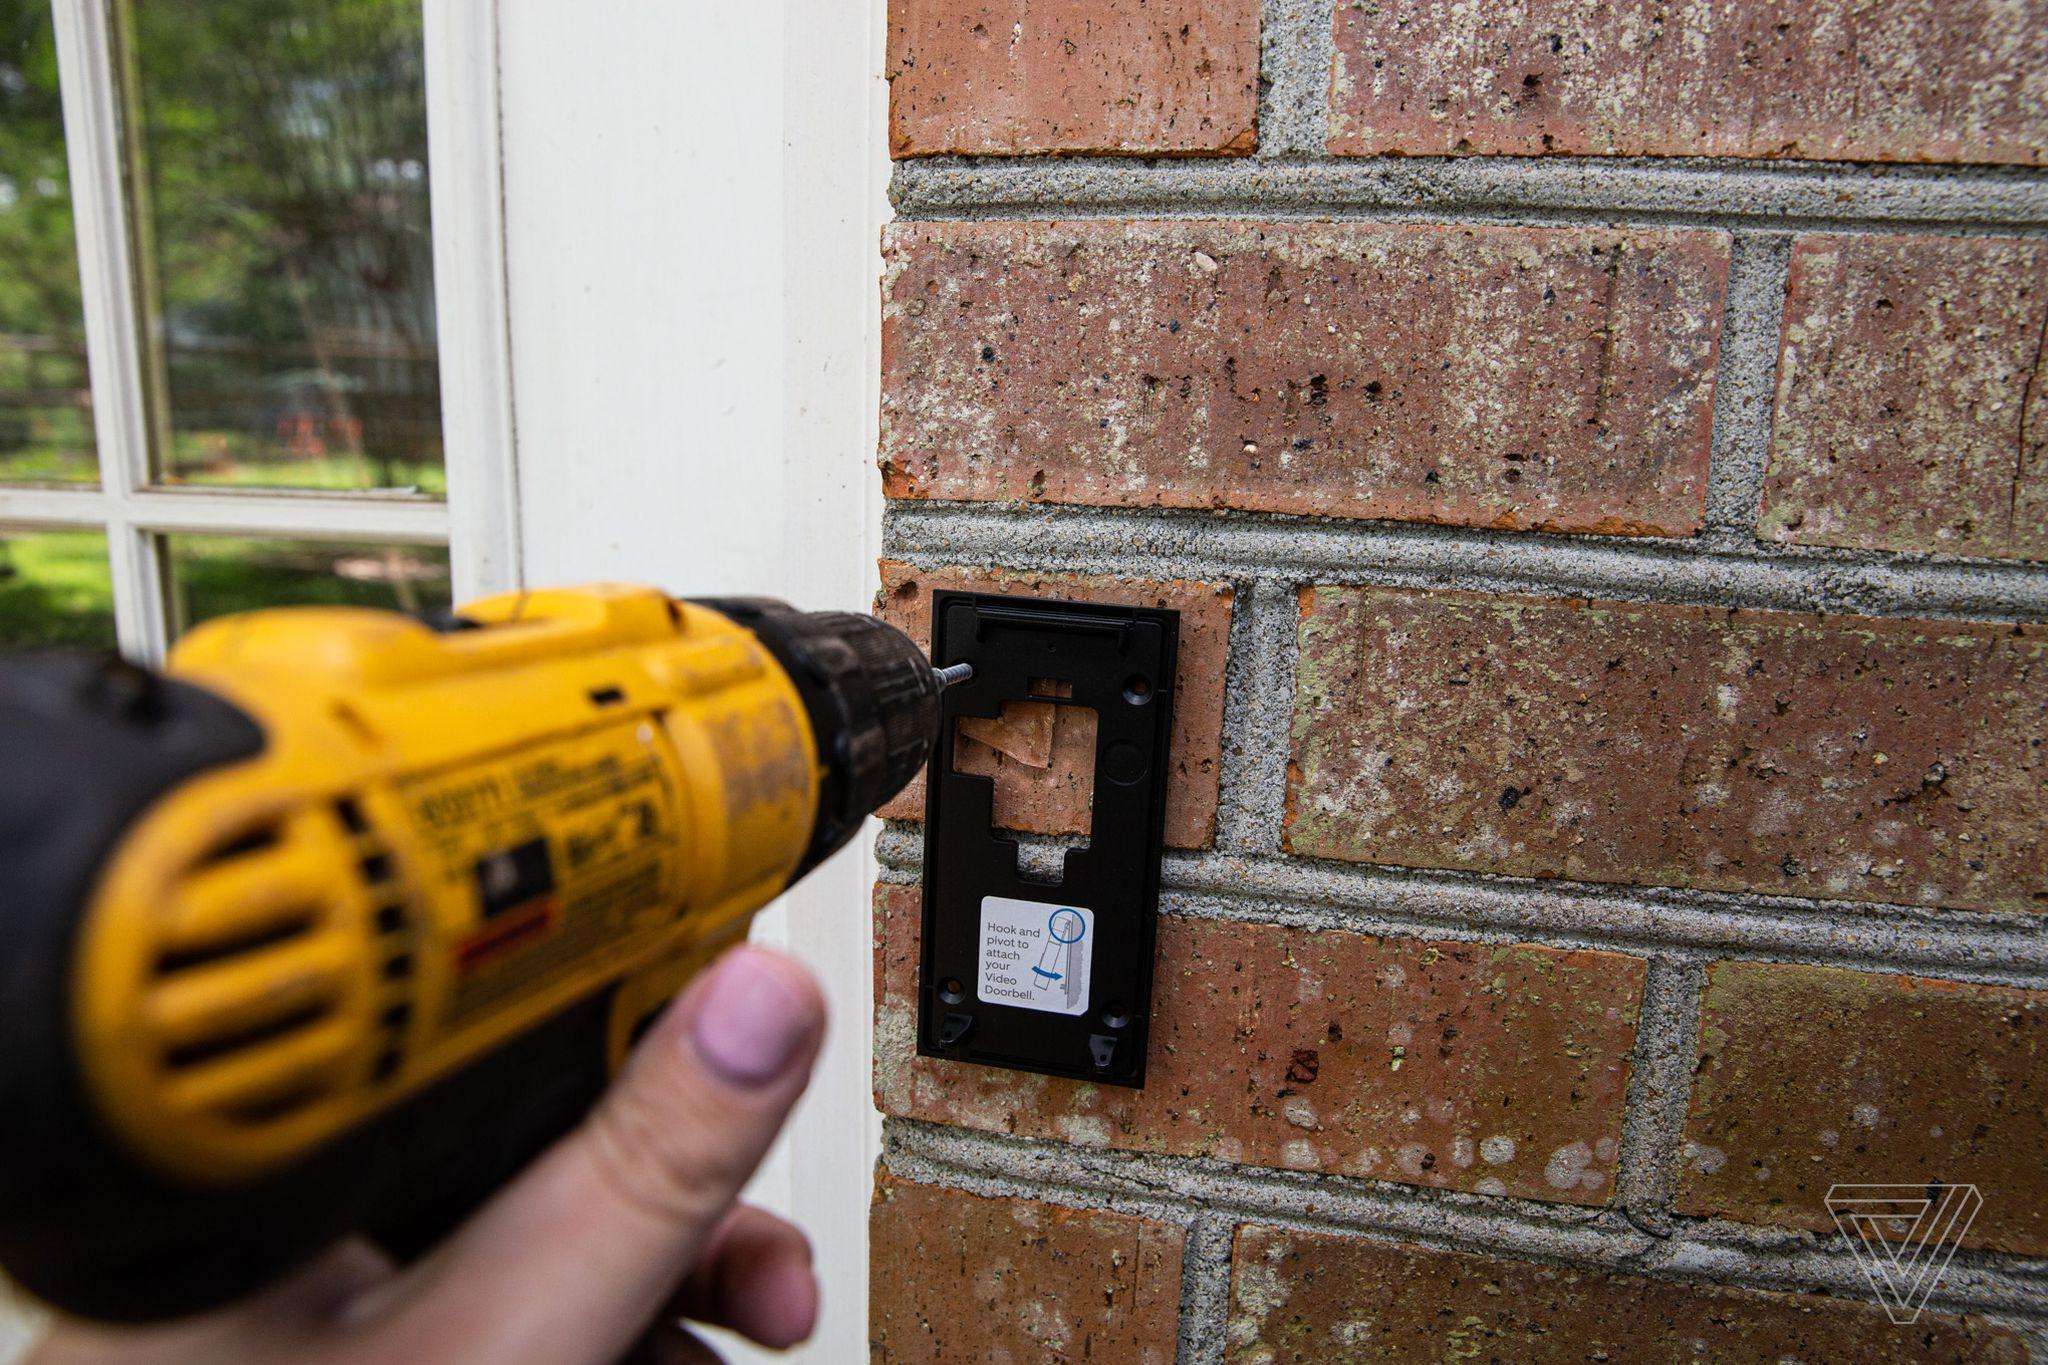
Image Source: The Verge
The next step is to drill holes at the marked spots. Depending on the type of material your wall is made of, this step may vary slightly. If you’re drilling into wooden or drywall surfaces, you can proceed directly with the drilling. However, if drilling into brick or masonry, you must use the included anchors for added stability.
First, drill pilot holes at the marked spots. The size of your pilot hole should match the size of the anchor for a secure fit. If you’re unsure what size anchors or drill bit size to use, consult the instructions manual. Then, if necessary, insert the plastic anchors into these holes. These anchors will provide a secure grip for the screws that will hold your Ring Doorbell in place.
Step 4: Secure the Mounting Bracket
With your holes drilled and, if necessary, your anchors inserted, it’s time to secure the mounting bracket to the wall. Align the holes on the bracket with the drilled holes on your wall. Then, using the provided screws, secure the bracket to the wall.
Ensure all screws are tight and the bracket is firmly attached to the wall. A loose bracket could lead to an unstable doorbell, so ensuring firm attachment at this stage is essential.
Step 5: Attach the Ring Doorbell
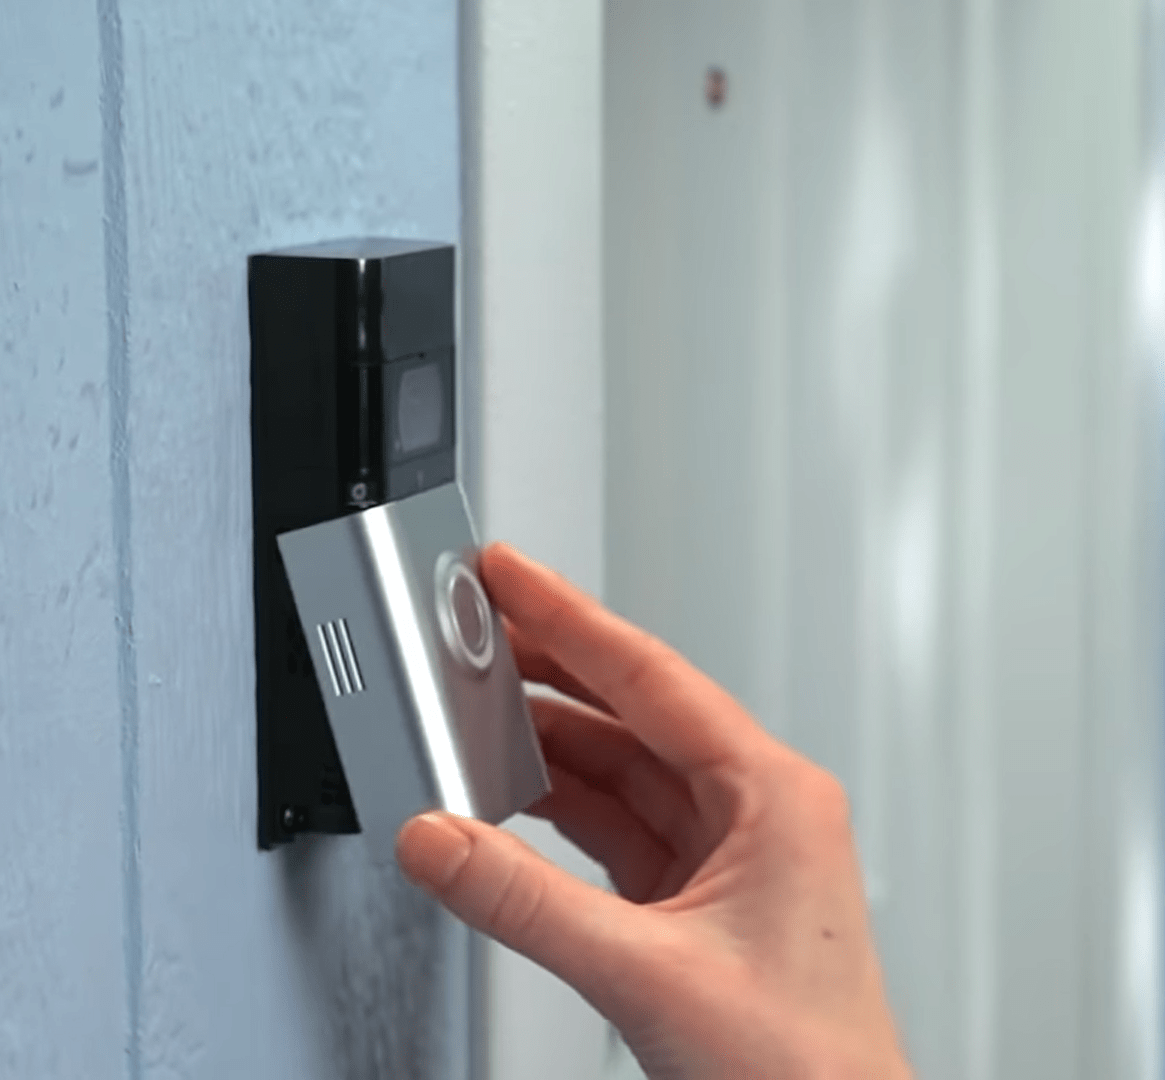
Image Source: Business Insider
The final step in mounting your doorbell is attaching the Ring Doorbell device to the mounting bracket. This should be straightforward, as the doorbell is designed to fit seamlessly onto the bracket. Once the doorbell is placed onto the bracket, use the security screws to secure it.
Make sure the doorbell is firmly attached and does not wobble or move. A securely mounted Ring Doorbell will provide clear video footage and detect motion effectively, ensuring your new security system functions optimally.
How to Install Your Ring Doorbell (With Wiring)
Some models of Ring Doorbells offer the option to wire the device directly into your home’s existing doorbell wiring. This process allows for continuous power, eliminating the need to recharge the device manually.
Here is a more detailed step-by-step guide on how to install your Ring Doorbell with wiring:
Step 1: Safety First
Safety should always be your top priority when dealing with electrical installations. Before starting work, turn off the power supply to your existing doorbell at the main circuit breaker. This crucial step helps prevent accidental electric shocks during the installation process.
If you’re unsure which breaker controls your doorbell, it might be safest to shut off the main power supply to your home temporarily.
Step 2: Removing Your Existing Doorbell
The first active step in the installation process involves removing your existing doorbell. Most standard doorbells are attached to the wall with screws, so use your screwdriver to remove these.
Once you’ve detached the old doorbell, you’ll see two wires protruding from the wall. These wires will be used to power your Ring Doorbell.
Step 3: Setting Up the Mounting Bracket
Next, you’ll need to prepare the mounting bracket for your Ring Doorbell. This bracket serves as the base on which your doorbell will sit. Align the bracket with the holes left by your old doorbell, ensuring it is level using the included level tool.
Then, secure the bracket to your wall using the screws provided in your Ring Doorbell package. Make sure it’s firmly attached and won’t shift or wobble.
Step 4: Connecting the Wires
Now, it’s time to connect the wires. Match up your Ring Doorbell’s wiring harness with the old doorbell wires. Twist the exposed ends of both wires and secure them with a wire nut.
Each Ring Doorbell has two screws on the back for this purpose. Loosen these screws slightly, then wrap the exposed end of each wire around a screw. It doesn’t matter which wire connects to which screw. Once the wires are wrapped securely, tighten the screws to ensure a solid connection.
Step 5: Attaching the Ring Doorbell
You can now attach your Ring Doorbell to the mounting bracket with the wires connected. Carefully align the device with the bracket, ensuring all holes line up correctly. Then, use the included security screws to secure your Ring Doorbell to the bracket. Again, ensure the device is securely attached and does not wobble or move.
Step 6: Restoring Power
Once you’ve installed your Ring Doorbell, you can restore the power at the circuit breaker. With the power back on, your Ring Doorbell should activate, signaling it’s receiving power from the wiring.
Step 7: Final Checks
As the final step in the installation process, it’s important to thoroughly test your Ring Doorbell to ensure it’s working correctly.
Press the doorbell button to see if it rings as expected, check the live video feed on the Ring app to confirm the video clarity and field of view, and test the motion detection feature by moving in front of the camera.
Frequently Asked Questions when Installing Ring Cameras
What tools are required for Ring Doorbell installation?
You won’t need much! Generally, you’ll require a Phillips screwdriver, wire strippers, and wire connectors. Some might also need pliers to tighten the wires and sandpaper for any rust or corrosion on the mounting bracket.
What kind of wiring does Ring Doorbell use?
Ring Doorbells run on low-voltage wiring. This allows them to be hooked to an existing doorbell system or a suitable transformer. The specific wire type and size depend on your setup. If unsure, refer to the product’s guide or speak with a qualified electrician.
Where should I position my Ring Doorbell?
Ideally, place your Ring Doorbell at eye level, roughly 5-7 feet from the ground. This height lets it effectively sense motion while offering a clear view of guests. Ensure the spot is shielded from harsh elements like direct sun or heavy downpours to prolong its lifespan.
Is outdoor installation possible for Ring Doorbell?
Absolutely! Most Ring Doorbells are built for the outdoors and can brave various weather situations. Nevertheless, situating it in an area relatively protected from direct exposure to rain, snow, or scorching sun is wise. To keep everything safe, seal any outdoor wiring connections with waterproof sealant and make sure all power sources have GFCI protection.
How can I link my Ring Doorbell to my smartphone?
After setting up your Ring Doorbell, download its app on your mobile. Follow the user manual’s instructions to connect. This setup lets you watch live camera feeds, tweak settings, and even receive alerts on detected motion or when someone rings the doorbell. This way, you’re always in the loop, even when you’re not home.